

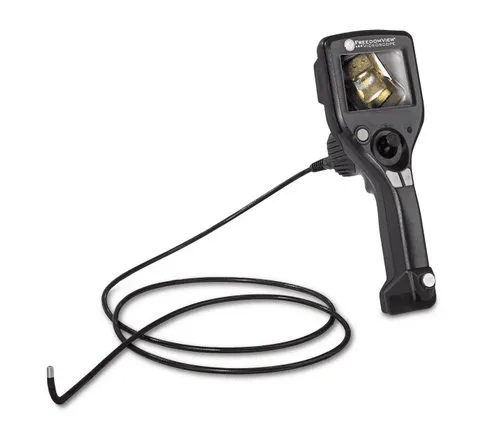
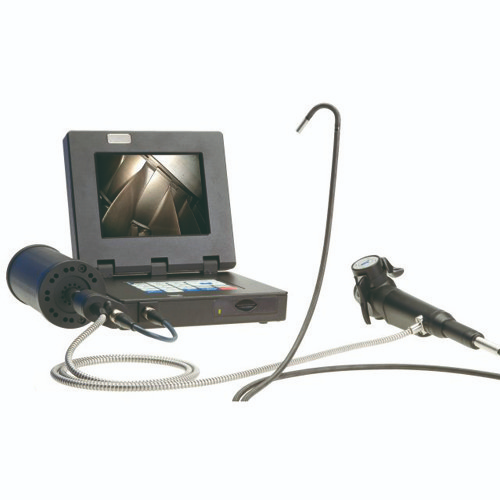
Foreign Object Damage (FOD) is one of those phrases that immediately gets maintenance teams’ attention—and for good reason. A single loose fastener, piece of safety wire, or fragment of debris can cause serious damage inside engines, turbines, compressors or other rotating machinery. Modern borescopes are one of the most effective tools for spotting that damage before it turns into a much bigger problem.
Used well, a borescope gives you a front-row view of the evidence FOD leaves behind: nicks, dents, gouges, impact marks and secondary damage along the gas path or internal surfaces.
What counts as Foreign Object Damage (FOD)?
At its simplest, FOD is damage caused by something that shouldn’t be there. That “something” could be:
- Loose hardware (nuts, bolts, washers, cotter pins)
- Hand tools or broken tool fragments
- Safety wire, rags or tape
- Stones, birds or runway debris ingested into an engine
- Manufacturing debris left inside a component
FOD doesn’t always mean a dramatic failure. Sometimes it’s a minor nick or scrape—but even minor defects can grow under load, vibration and thermal cycling. That’s why so many inspection procedures in aviation and other critical industries explicitly call out FOD checks as part of borescope routines.
How a borescope reveals FOD inside engines and equipment
Seeing what a visual line of sight never could
Without a borescope, you’re limited to what you can see from external openings or after major disassembly. FOD rarely obliges by landing in easy-to-see places. Instead, it tends to:
- Travel along the gas path, striking multiple stages
- Wedge itself in corners and behind lips
- Leave subtle damage on leading and trailing edges
A flexible video borescope with articulation lets you follow that path and inspect:
- Compressor and turbine blades (leading/trailing edges, tips and roots)
- Stator vanes and case liners
- Combustion chamber surfaces
- Internal passages and cavities where debris can lodge
By steering the tip and adjusting the view, you can often reconstruct the “story” of how the foreign object moved through the machine.
Visual signatures of FOD
When you’re specifically hunting for FOD, you’re looking for particular visual cues:
- Sharp nicks or gouges—often with a bright, freshly exposed metal appearance
- Localised dents or flattened areas on blade leading edges
- Impact marks that appear in a repeating pattern along consecutive blade
- Embedded particles or foreign material stuck to surfaces
- Secondary damage, such as cracks radiating from an initial impact site
The key is to distinguish FOD from other defect types like corrosion, erosion or simple staining. Good lighting, resolution and articulation all help ensure you’re seeing enough detail to make that call confidently.
A simple borescope workflow for FOD-focused inspections
Start with the history and the suspect area
Before inserting the scope, gather context:
- What event prompted the inspection—abnormal noise, ingestion event, tool loss, routine check?
- Which section of the engine or system is most likely affected?
- Are there OEM or maintenance manual instructions that specify particular stages, blades or features to inspect?
This context lets you prioritise the most critical areas first, rather than wandering around blindly inside the component.
Follow the likely path of the object
Once inside, use articulation and probe rotation to:
- Inspect the immediate suspect zone (for example, fan or first-stage compressor).
- Work downstream along the flow path, checking each stage for:
- Damage patterns that line up with earlier impacts
- Evidence that the object has fragmented and spread
- Damage patterns that line up with earlier impacts
- Pay special attention to tight corners, case liners and blade roots where debris can lodge.
If you actually locate the foreign object, capture multiple images and note its precise position before deciding whether and how to remove it.
Document everything clearly
Good documentation turns a FOD inspection from a one-time event into solid evidence:
- Capture clear, well-lit images or video of any damage.
- Annotate which stage, blade number and clock position you’re viewing.
- Save files in a structured way that links them to the asset, serial number and work order.
If follow-up work is required—repair, blade replacement, part removal for detailed NDT—those images will be vital for planning and engineering approval. Professional inspection equipment services can also support follow-up work if tools need evaluation or repair after demanding FOD investigations.
Best practices for spotting FOD with a borescope
Use the right probe and articulation
For FOD-focused inspections, the choice of borescope matters. Ideally, you want:
- A probe diameter that fits comfortably through OEM access ports
- 4-way articulation with joystick control for precise positioning
- Sufficient length to reach all required stages or internal areas
- Robust lighting with adjustable intensity to avoid glare or shadows
The combination of size, articulation and image quality will determine how easily you can see the subtle marks that often signal early-stage FOD damage.
Take your time on “high-impact” surfaces
Not every surface is equally critical. Focus your attention on:
- Leading and trailing edges of rotating blades
- Blade tips where clearance is tight
- Areas where debris is likely to strike first or at high speed
Move slowly, adjust angles and use both rotation and articulation to see each suspect area from multiple viewpoints. A quick pass might miss damage you’d spot immediately from a slightly different angle.
Avoid creating new problems
It’s ironic but true: careless borescope use can introduce its own form of “FOD” if probes are mishandled. Avoid:
- Scraping the probe against sensitive surfaces
- Forcing the tip through tight gaps
- Leaving loose accessories or caps where they could be ingested
A disciplined approach to handling the scope protects both the equipment and the asset you’re inspecting.
Turning FOD findings into better decisions
Identifying FOD with a borescope is only half the job. The other half is using that information to make good decisions about continued operation, repair or overhaul. Clear images, consistent techniques and well-documented findings make it easier for engineers, quality teams and OEM representatives to:
- Assess the severity of damage against approved criteria
- Decide whether blended repairs, part replacement or immediate removal are required
- Track recurring FOD patterns and address root causes (housekeeping, tooling control, ingestion risks)
USA Borescopes specialises in remote visual inspection solutions that help maintenance teams perform this kind of work with confidence. Their understanding of FOD-related challenges across aviation, power generation and other sectors, along with their experience in specifying and supporting the right tools for these jobs, is outlined on the company’s About Us page.
If FOD inspections are a regular part of your maintenance programme—or you’ve had a recent event that raised questions about your inspection capability—it’s worth speaking with a specialist who works with these challenges every day. To review your current borescope setup, explore more suitable options or get practical advice on FOD-focused inspection workflows, contact USA Borescopes and connect with their team.
About the Author
This guest post was written by a technical content writer specialising in inspection and reliability engineering topics. They work with equipment providers and maintenance organizations to turn real-world experiences—like FOD events and borescope investigations—into clear, practical guidance that helps technicians and engineers protect high-value assets more effectively.